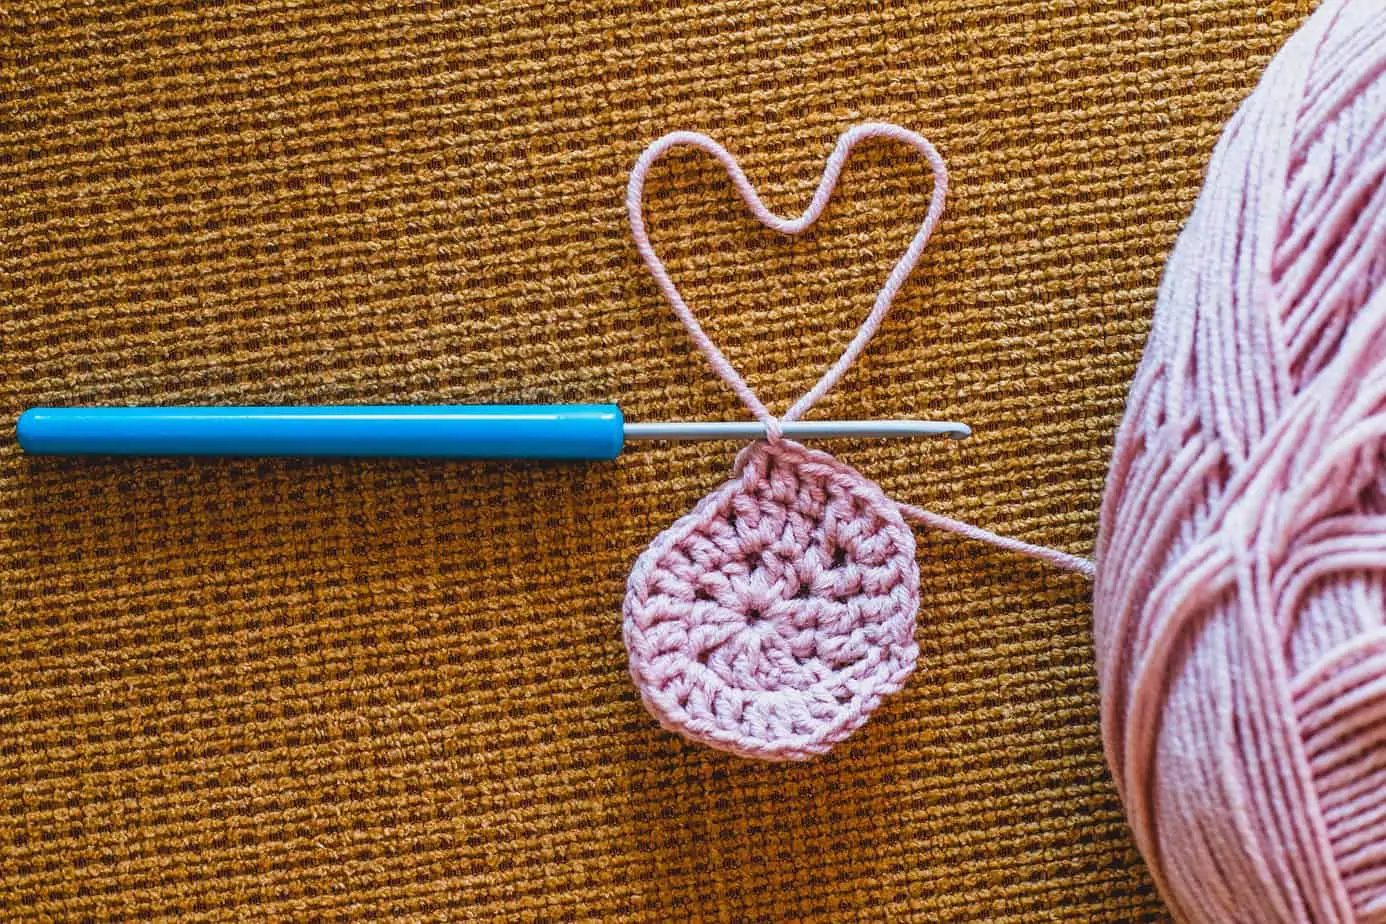
If you are new to crochet, you probably learned to work in rows. Another way to work your project is called “working in the round.” Let’s find out what that actually means.
What are crochet rounds? Crocheting in the round means the project is worked in a circular fashion usually without turning your project for each additional round. Any project you start in the center and work outward is considered working in the round.
Any project that starts in the center? What does that mean!? What kind of crochet rounds are there? Keep reading to find out!
What Types of Crochet Rounds Can I Make?
You can basically make any geometric shape in crochet by working in the round. You start in the center and gradually increase the number of stitches worked with each new round.
Where you put the increases (two or more stitches worked into the same stitch), and how many increases you do, will determine the shape of your final project.
Here is a list of the shapes you can make.
- Circle
- Squares
- Pentagons
- Hexagons
- …keep adding numbers of sides; you can do it in the round
- Tubes or cylinders
Options for How to Work in the Round
There are two main options for how to work in the round, with the second having many variations.
The first is to work in a spiral. When working in a spiral, you will keep making your stitches without stopping. When you come to the end of each round, you place another of the same stitch. This results in a spiral shape that gradually increases in size.
The second way you can do it is to work “joined rounds.” In this technique, you will generally connect the last stitch of your round to the first stitch of that same round with a slip stitch; then, you will chain to increase the height and start your next round (similar to how you chain 1, 2, or 3, etc. after you turn when working in rows). This method results in concentric circles rather than the spirals achieved in the previous method.
Pros and Cons for Each Method of Working in the Round
Spiral
Pros:
1. It is easy. The placement of the stitches is in the top of each previous stitch, which is really easy to find.
2. A lot of people like the look of the spiral. It is visually appealing and draws the eye to it artistically speaking.
3. There is no seam when working in spirals. This creates a nice, smooth finish to your work.
Cons:
1. It can be hard to know where your round starts/finishes. The easy solution to this problem is to place a stitch marking in the first stitch, moving it to the new round each time.
2. When changing colors, you will have a “jog” in the colors. This can REALLY bug some people; I am one of them. In some cases, when it looks like it was meant to be that way, it is not a problem, but a lot of the time, you are looking for neatly striped circles with a start and finish point, and you can’t get that in a spiral.
3. At the end of your work, you will have a bump. This is a minor concern as it is usually addressed effectively with a slip stitch or a gradual decrease down to the previous size. It also won’t matter if you connect multiple rounds to make a larger project.
Joining rounds
Pros:
1. You can easily see where each round starts and finishes because it is raised by the stitch height each time.
2. You will achieve the nice, concentric circles look, with each circle being larger than the next versus spiraling larger.
3. When changing colors for each new round, you will have a clearly defined circle of each color with no “jog” in the color.
Cons:
1. It can be challenging to know where to place your first and last stitch of each round because the slip stitch looks like an “extra stitch” that you end up feeling like you are skipping.
2. You will have a seam that is raised. It can be unappealing visually. The seam will also likely be slanted (this can be addressed with multiple different techniques, but they make the process of working in rounds more cumbersome.
How To Work in the Round-Tutorial Resources
I will not provide the details of how to crochet in the round in this post, but I will provide you with links to great tutorials on how to do it! If I listed all of it out, this post would get really long, real quick. Basically, I would need a new post for EACH of the different methods and shapes! Maybe I’ll do it one day, but for now, use these resources!
- Crocheting flat circles-joining method
- This written tutorial from BHooked is fantastically detailed and gives a lot of what I would consider “pro-tips” for making a flat circle that is actually flat.
- Here is a YouTube Tutorial from Bella Coco that demonstrates the joining method of crocheting flat circles. Note: She uses UK terminology, so when she says treble crochet, that is a US double crochet.
- Crochet flat circles-spiral method
- The YouTube Tutorial from Hopefully Honey provides a nice how-to for crocheting a spiral, flat circle.
- Squares
- The YouTube Tutorial from Crochet to Z shows you how to crochet a solid square in double crochets.
- Note that there are TONS of different ways to crochet squares in the granny square styles. You can find that out by just doing a quick Google image search of granny squares. The possibilities are endless.
- Pentagons
- The YouTube Tutorial from The Crochet Crowd shows you how to crochet a pentagon. (Side note-I do not know what a crochet cruise is, and this is not me endorsing them haha.)
- Hexagons
- The YouTube Tutorial from Bella Coco shows you how to crochet a hexagon. Note-She uses UK terminology, so when she says treble crochet, that is a US double crochet.
- Bonus-She will show you how to join your hexagons as well!
- Octagons
- The YouTube Tutorial from Amira Crafts shows you how to crochet an octagon.
- “Tubes”
- In other words, a tube is anything that is not a flat circle. You start working the same number of stitches as the previous round to work “up” like for a basket or beanie.
- This can be done with either the spiral method or the joining method.
- Here is a spiral method YouTube Tutorial from Tangling yarn, shown by making a spiral hat.
- Here is a joining method YouTube Tutorial from Easy Crochet, shown by making a basket.
For all of the above, note that each tutorial is only one way to do it. For most, there are multiple ways. I just tried to choose tutorials that were clear, helpful, and detailed. If you want to do a different variation, there are tons of them!
So now you know what a crochet round is and what the different types are. Who knew there was so much to know about it! If you think of any other questions about it, drop me a comment, and I will answer the best I can!
Now it is time for YOU to get Crafty with Ashy! Show me YOUR crocheting in the round project in the comments!
Be sure to subscribe and follow me so you don’t miss any inspiration!

