Crocheting is not a hard hobby to learn. In fact, if you learn just a few basics, you can be making full and functional projects within one day!
The easiest thing for a beginner to crochet is an item that uses only the chain stitch. Bookmarks, bracelets, anklets, necklaces, and headbands can all be made from the chain stitch. A beginner should start with a pattern utilizing chain stitches.
You can be crocheting usable items within minutes of learning to crochet! I taught my nine-year-old niece to crochet (starting with a slip knot, then using the chain stitch) in approximately five minutes! In this post, I will give you some ideas for things to crochet as a beginner with the chain stitch (including multiple patterns), as well as some tips on what NOT to do to start your new hobby!
The Easiest Stitch to Learn in Crochet
To crochet, you first need to learn how to actually get the yarn on the hook. You have to start with a slipknot. This is not technically a “stitch” and it is taken for granted that you know how to do this. So here is a video for you to do it. It is definitely easier to learn by seeing, rather than trying to explain it.
Now to the actual stitch. The most basic crochet stitch is a chain. For this, you wrap the yarn over your hook, then pull the yarn through the one loop on your hook. As you keep repeating this, you will get a longer and longer “chain.” I assume this is where the name comes from, but I haven’t done any research on that!
The slip stitch is the next “stitch” to learn in crochet, but it is basically a chain stitch. The only difference is you insert your hook through another stitch first.
Easy Beginner Crochet Patterns-What Can You Make From a Crochet Chain?
You can make a variety of items with only a chain stitch. Also, depending on the type of yarn and size of hook, you can actually have a wide variety of looks to your projects too! Really, you can go to town on some chain items!
Here is a short list of types of things you can make from a crochet chain. Following each, I have a few patterns to follow with pictures for your chain practice (or just because they are cute!) All of the following patterns are made with weight 4 (medium weight) yarn and a size I/5.5 mm hook unless otherwise noted.
If you’d like a video tutorial that shows how to do these techniques, check it out! It specifically shows how to create “necklace 2,” but the principles apply to all the projects!
Bookmark
Okay, so not gonna lie to you, this is not going to be the most interesting bookmark out there, but it will be functional! you can literally make a single crochet chain (the length you want will determine the number of chain stitches required) and use it as a bookmark. You can leave it just a long straight piece, or you can tie it into a circle. This way you can place it around the book without it falling out.
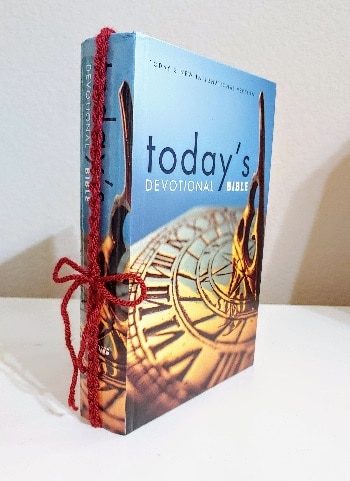
I designed this super simple bookmark to use for my Bible.
Bookmark Pattern:
chain 50. fasten off.
Use starting and ending “tails” to tie a knot, then tie into a bow.
Bracelets
This is another that you could do just a single chair or add more interest with a variety of colors/sizes/textures of yarn. For these, you would want to leave “tails” on the yarn to tie together if you want it to be the basic chain stitch.
Another option is to join the yarn to make it a circle, then slip it over your hand or foot. To join the yarn to make a circle, you do what is technically another stitch, the slip stitch, but it is basically a chain with sticking your hook through the original chain’s hole before doing your yarn over.
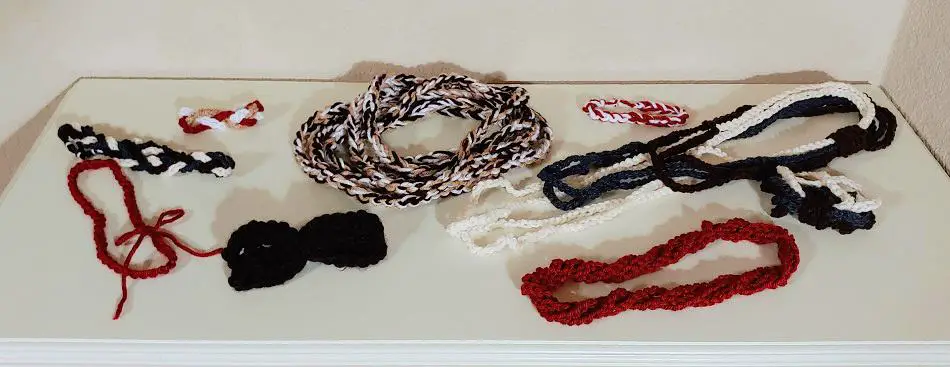
Here are some examples that I designed.
Bracelet Pattern #1
Holding two colors of yarn together. chain 25. Fasten off. Tie the ends together into a knot. Cut excess yarn.
Bracelet Pattern #2
Chain 25 in three different colors, fastening off each time. tie the ends of all three chains together. Braid, then tie the other ends together. Tie both ends together and cut excess yarn.
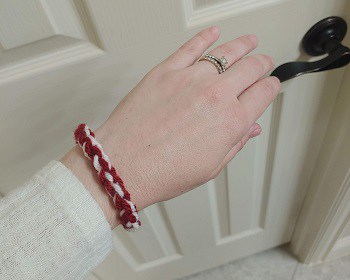
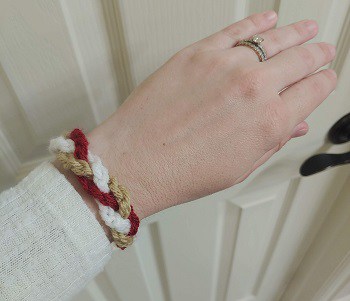
Bracelet Pattern #3
Chain 30, slip stitch to first; without fastening off, do the same thing again. Fasten off.
Repeat above in a 2nd color.
Repeat above in a 3rd color, but don’t fasten off. Instead chain another 24, wrap around all 6 previous chains, and slip stitch to first of chain 24. fasten off.
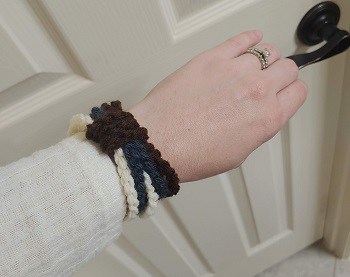
showing wrap
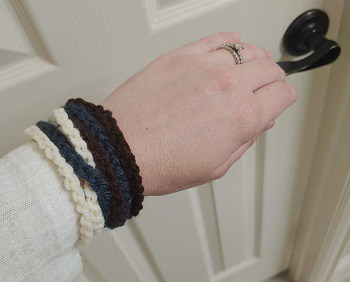
not showing wrap
Necklaces
Necklaces are super similar to bracelets and anklets, but you can make extra long chains and wrap around a few times to get a layered look to your necklace.
You could make a bunch of the same or different sizes then connect together to create that layered look. If you what to add even MORE interest, you can do a smaller chain and wrap it around to gather your others together! I know it sounds repetitive, but it can actually be SUPER interesting and cute!
Again, I am including some examples that I designed.
Necklace Pattern #1:
Chain 75, slip stitch to 1st. chain 80, wrap around other chain 8 times, slip stitch to first. Chain 85, wrap around other 2 chains 10 times, slip stitch to first. Fasten off.
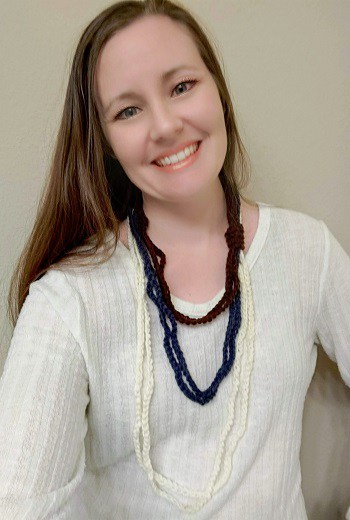
Necklace Pattern #2
With 1st color: Chain 150, slip stitch to first two times. fasten off.
With 2nd color: Chain 120, slip stitch to first two times. fasten off.
With 3rd Color: Chain 90, slip stitch to first two times. Chain 35, hold all 6 chains together and wrap around. Slip stitch to first of chain 35. Fasten off.
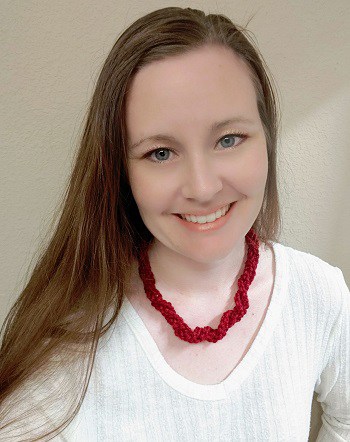
Necklace Pattern #3
Hold 3 colors of yarn together. Using a K/6.5mm crochet hook, chain 300. Slip stitch to the first chain. Fasten off.
(This can be wrapped up to 7 times or be worn long wrapped only 4 or 5 times. It can also be wrapped to make a headband/ear warmer by looping into 3, then twisting to wrap in half again-see pictures)

Wrapped 7 times
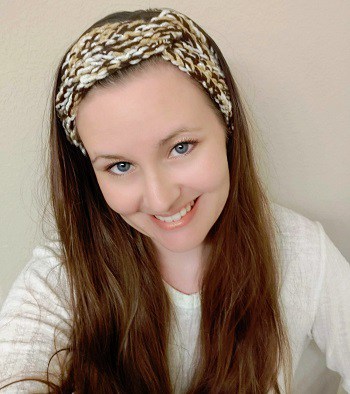
Looped 3 times, then twisted twice to make a headband
Headbands
Headbands are probably a little bit more tricky because the length actually has to be more precises. The good news is you can try it on as you go! Also, typically yarn has some stretch to it, so you have a little leeway.
You can make it a circle with the slip stitch discussed above or tie it together to make the headband. You could do a single chain or wrapping around. You can braid a few chains, or hold a few yarns together while chaining to get more colors.
Here are two options I came up with for my girls!
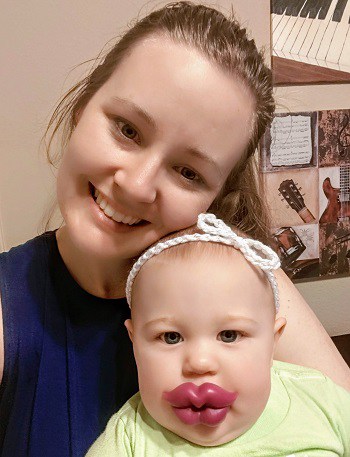
Headband Pattern #1 for Toddler:
Chain 75, tie a bow in the middle of the chain, then slip stitch to first chain. Fasten off.
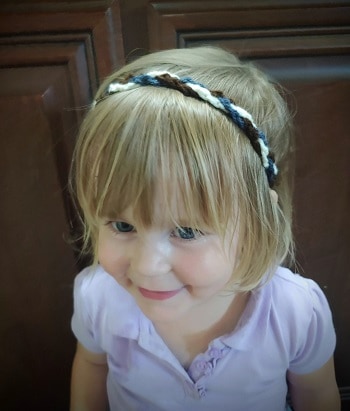
Headband Pattern #2 for two-year-old:
In three different colors, chain 60 and fasten off. Tie the tails of all 3 together on one end. Braid, then tie the tails on the other end. Tie the two ends together to make a circle.
Bow
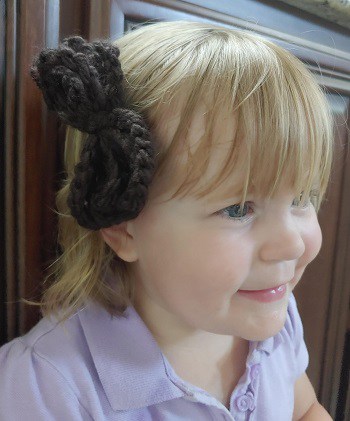
You can create a cute bow using only chains also. This can be attached to a basic chain headband or a barrette/clip to place in a toddlers hair.
Bow Pattern:
Chain 120. Slip stitch to first chain. Fasten off. Double over, two times (to create 4 loops). Tie the tails from the yarn around the center of the loops to create the bow.
Why Start With a Chain Stitch For Beginner Crochet?
When beginning to crochet, the hardest thing to learn and become consistent with is tension. This is how tight your stitches are. How you are holding your yarn and hook, and how tight you are holding each, will contribute to the tension.
The key to nice, symmetrical crochet, is to maintain the same tension throughout the project. The only way to do this is to practice over and over to create stitches that look the same. The base of *most* crochet projects is the chain, so this is where your tension starts and is really determined for the whole project. Getting very comfortable, confident, and consistent with your starting chain is super important.
The best news is, you don’t just have to sit there and chain away just for practice! You get to practice and make things! Sure, you are probably excited to get onto more projects, and you will get there really quickly, but go ahead a take some time to make some different chained items.
If you really don’t like any chained projects, then yeah, go ahead and just practice chaining, then frog it (rip it rip it out) to save the yarn, but I think it is fun to have some of these items. You can always give them to other people; kids especially would love some chained bracelets or necklaces!
After you have the chain stitch down, the rest of the stitches are much easier to learn because you already know how to hold your yarn and hook and now to keep a consistent tension. When you are ready to move on, I have a post that has descriptions and video for 35 different crochet stitches! I also have a post that teaches you how to read a crochet pattern and one for decoding crochet jargon. Below are the links if you are needing this information!
Crochet Stitch Abbreviations and Symbols: With How to Guide For Each
Decoding Crochet Jargon: Common Crochet Terminology and What It Means
How Do You Actually Read a Crochet Pattern: Written Form
What is the Best Yarn and Hook For Beginner Crochet?
Feel free to be as creative as you want with your chains! With that being said, as a beginner you will have the easiest time learning with a lighter colored yarn and a medium sized hook like a size I/5.5 mm.
I recommend starting with worsted/Aran weight (4) yarn which is the most common. This is basically a middle of the line thickness of yarn. Smaller yarn is harder to see the stitch in and bulky yarn can actually be tough to practice proper tension.
As far as hook size, I recommend a size I/ 5.5 mm hook to start. This is a very common size called for with weight 4 yarn and it is large enough to see where to place your hook in the stitch. Larger hook can be heavy and hard to manipulate, whereas smaller hooks result in smaller stitches which are harder to see where to insert your hook. Don’t worry, you’ll get to other sizes quickly!
The yarn color does matter. Darker colors are harder to see the “holes” for where to insert your hook into the stitch. Black is especially hard, but dark blue and green can be challenging as well. With pretty much any other color, you should be good to go.
If you want to know a lot more detail about yarn for crochet and crochet hooks, check out my other posts:
Best Crochet Hook For a Beginner to Use: Size, Shape, and Material
Yarn for Crochet: Type, Texture, Weight, and Tips to Choose the Best
What Should a Beginner NOT Crochet
Again, if you prevent video format, I have a YouTube video about what not to crochet as an absolute beginner! If you prefer written, continue. haha!
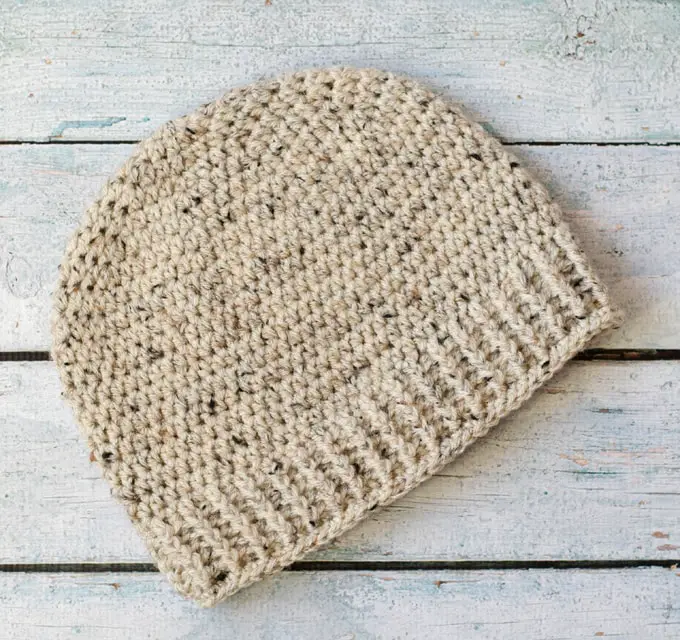
If you are a true beginner, I would recommend NOT starting with something you have to crochet “in the round”. This is something like a beanie. Many lists with “beginner” patterns have simple beanies on them. Yes, they can be made with basic crochet stitches; BUT, the concern is that many times beginners aren’t proficient at placing the stitch in the correct spot. Often beginners add or subtract stitches accidentally. When crocheting in the round, it is harder to determine where the stitch should be, and it is actually harder to keep count. I recommend practice in rows for a few small projects before crocheting in rounds/spirals.
Another thing I wouldn’t necessarily recommend starting with is a large blanket. To be transparent, I actually did start with a massive blanket in all single crochet stitches when i learned to crochet. I was about 7 or 8 I think, and I gave that blanket to my older sister. She loves me I guess, because she still had, and used, that blanket in college! The blanker was made with soft, cushy yarn, so it was warm and comfortable. The problem was, it was SUPER asymmetrical! The edges were completely wavy and it ended up growing significantly because I was adding stitches to each row! If you don’t really care about that, like my 8 year old self, go for it (haha)!
But, after you get the crochet chains down, I actually recommend something like a scarf crocheted in rows, which has fewer stitches to keep track of. It is also easier to see if you are keeping the edges straight!
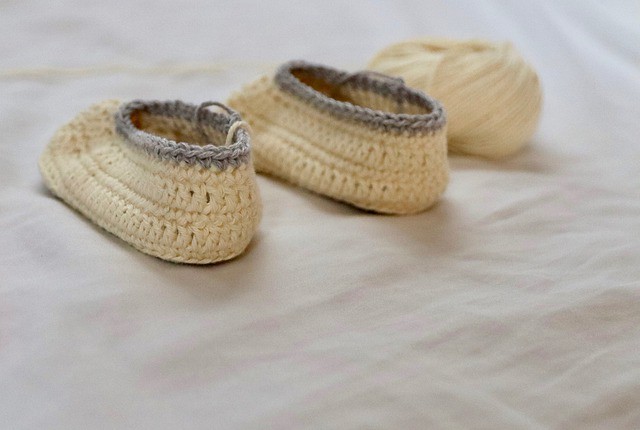
Do not start with something you need two of the same size for! I have made baby booties, and they are adorable, but getting the tension right to make two of the same size take practice! Save it for down the road please!
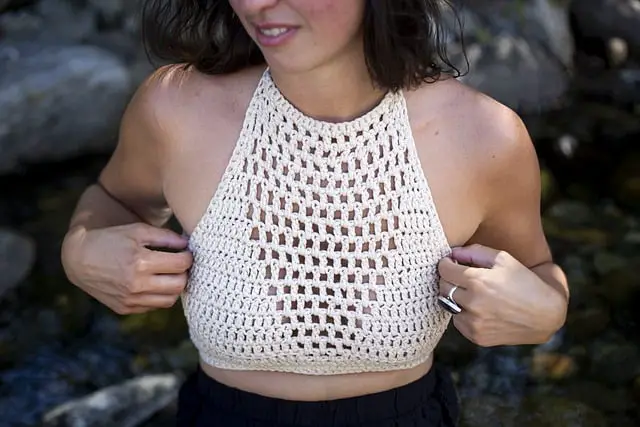
Do not start with a fitted clothing item. You can make clothing with basic stitches, but again, the tension needs to be right to make the item the desired size (to match the pattern). Clothing is really NOT hard once you learn how to keep a consistent tension, so please don’t be deterred from clothing forever! I LOVE making clothing, especially baby stuff that can be made quickly, but practice your tension a little first!
So, the most basic crochet stitch is a chain, and you can actually make many items with it! Starting with chained items will help you get a consistent tension which will be the best building block for most of your crochet projects!
If you think of any other questions about this topic, drop me a comment, and I will answer the best I can!
Now it is time for YOU to get Crafty with Ashy! Show me your creative chain projects in the comments!
Be sure to subscribe and follow me so you don’t miss any inspiration!